So, You Bought a Super-Fast New Mac for Your Pro Tools Rig. Now What?
Why a clean install beats Migration Assistant every time, especially when you have work to do.
Buying a new Mac for your Pro Tools system is exciting—until it’s time to move everything from your old machine. Apple’s Migration Assistant promises a quick, painless transition, but for professional audio rigs, it can create more problems than it solves. If you’re upgrading between major macOS versions or moving from Intel to Apple Silicon, a clean installation is almost always the faster path to a stable, reliable Pro Tools workstation. Here’s how to migrate your system the right way—and avoid the headaches that come with taking shortcuts.
Quick Takeaways
- Skip Migration Assistant when moving between major macOS versions or from Intel to Apple Silicon.
- Verify macOS and Pro Tools compatibility before installing anything.
- Install Pro Tools before third-party plug-ins.
- Install plug-ins in small batches.
- Never copy old plug-ins directly into your new Plug-Ins folder.
- A clean install takes more time upfront but saves countless hours of troubleshooting later.
Skip Migration Assistant (Most of the Time)
It seems easy enough, right? Connect the two Macs, open Migration Assistant, grab a coffee, and let Apple do the work.
Don’t do it.
If your old Mac is only one macOS version behind the new one, you’ll probably be fine. But if the outgoing Mac is more than one OS generation behind—or you’re moving from Intel to Apple Silicon – you’ll spend far more time chasing bugs, mysterious crashes, and random compatibility issues than you would performing a clean install.
Yes, sign into iCloud. Sync your bookmarks, contacts, notes, recipes, and all those Rick Beato interviews you’ve been meaning to watch.
But leave the audio apps and plugins behind. Logic Pro is fine – it will update itself.
One incompatible plug-in residing in your Plug-Ins folder is all it takes to ruin your day when you’re trying to get a new rig up and running.
A clean install means downloading fresh installers for Pro Tools, all your plug-ins, virtual instruments, ARA2 applications, iLok License Mangler, Dante Controller, and every other application your workflow depends on. Make sure every application you install is officially supported on your new version of macOS. Most everything will be compatible, but доверяй, но проверяй, or else.
Fortunately, most third-party plug-in manufacturers have installer applications that automatically download and install every plug-in you’ve licensed.
Yay, developers.
They don’t make money from those convenient installers – they build them to make your life easier. Stop by their booth and thank them next time you’re at NAMM or AES.
Pro Tip: Don’t copy your old Plug-Ins folder to your new Mac. One incompatible plug-in can destabilize your entire Pro Tools system. And your day.
Step 1: Get the OS right first.
The first thing you should do is update your new Mac (or PC) to the latest supported version of macOS for the version of Pro Tools you’re planning to run.
Notice the word supported.
Don’t simply install the newest version Apple offers through Software Update. Always check Avid’s Pro Tools Operating System Compatibility Chart and install the latest supported release—even down to the dot version. Try to not get ahead of the latest supported version – sometimes it works fine, other times, not at all. Do you feel lucky today?
If your Pro Tools support plan has expired and you can’t align your Pro Tools version with the new supported operating system, renewing that support plan should be your first step.
If your new Mac ships with macOS Sequoia, updating to the latest supported Sequoia release is currently a solid choice. While Tahoe (OS 26.x) is supported on certain versions of PT, Sequoia remains the more solid platform. But if your shiny new Mac came with Tahoe, run with it. But don’t go past 26.3.x (as of July 2026).
Thinking about rolling back your new machine to an older operating system?
You can do it, in certain cases, but if you’re comfortable downgrading macOS, you probably don’t need me to teach you how to ride a bike, either.
Just know that while it’s difficult to brick a modern Mac…
…it isn’t impossible.
Step 2: Install Pro Tools First
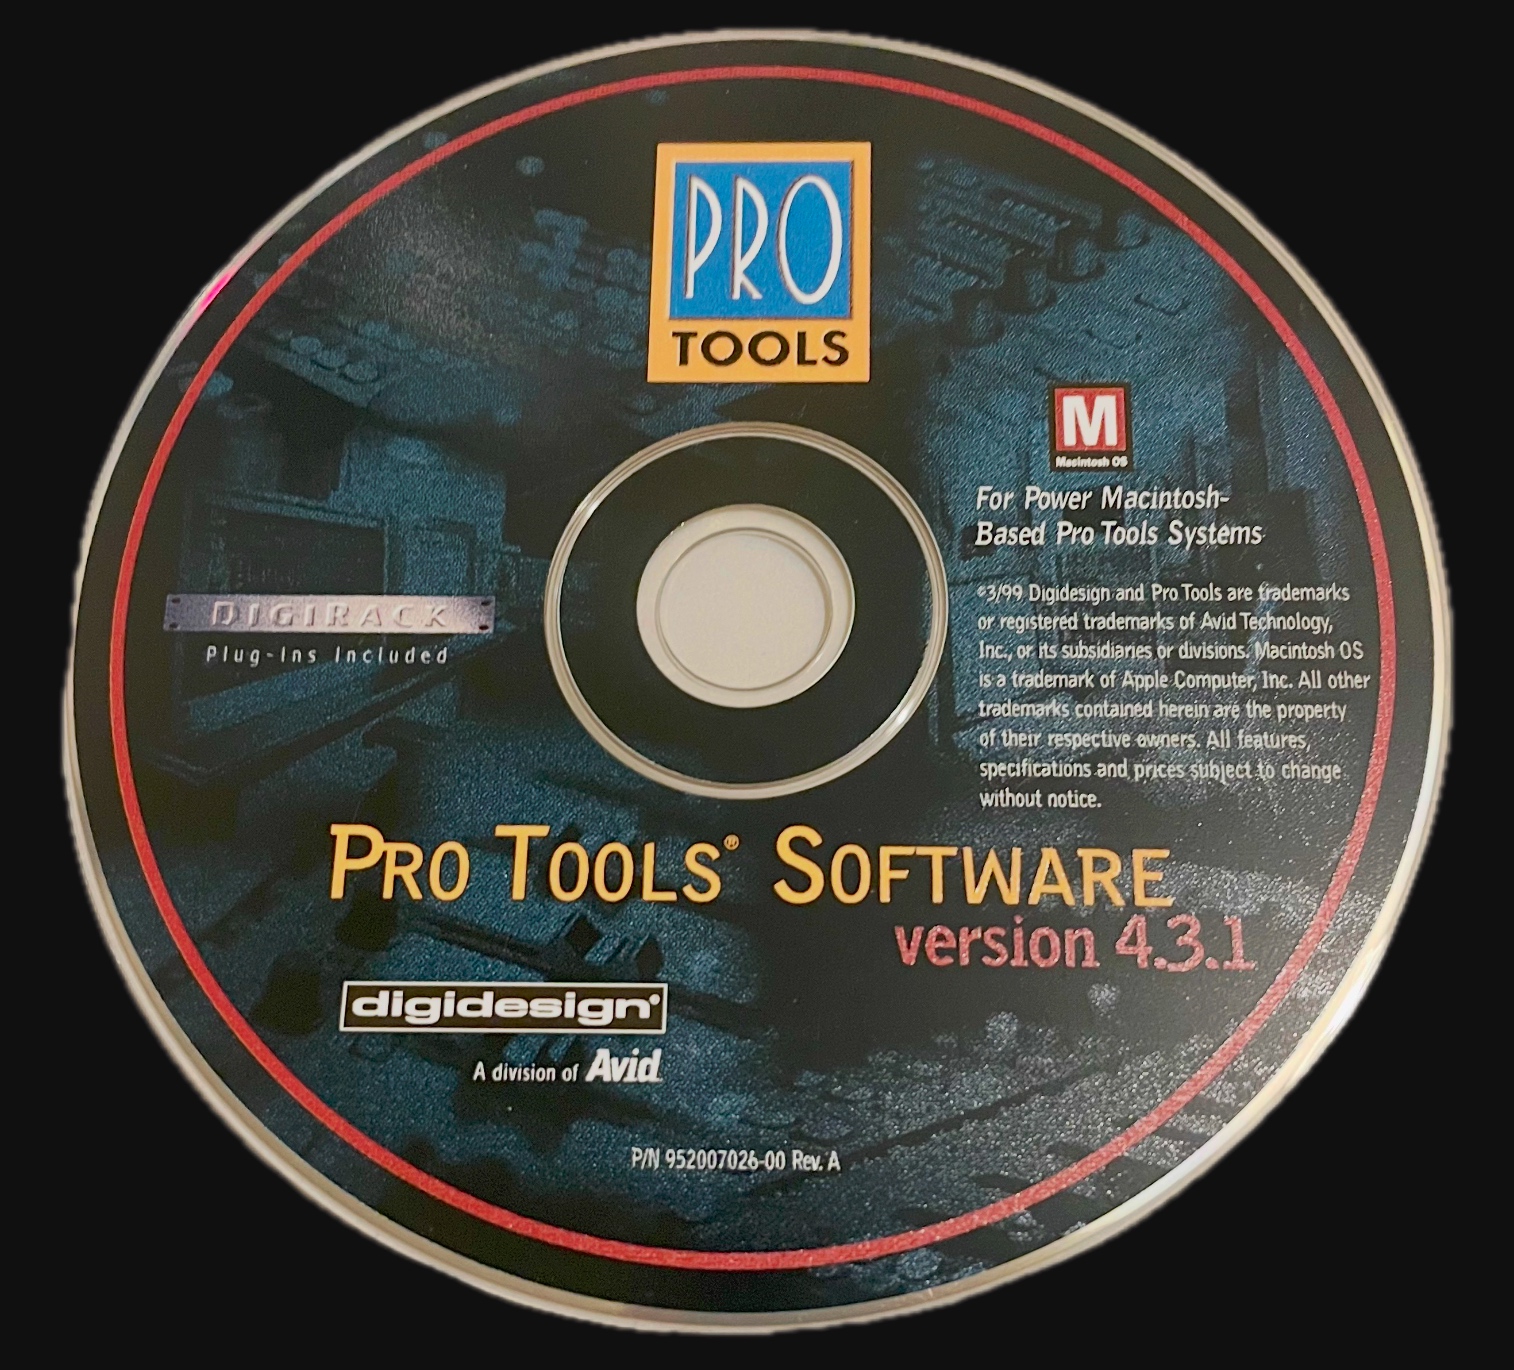
Once macOS and Pro Tools versions are in perfect cosmic harmonic convergence, install Pro Tools before anything else, audio-wise.
Then, launch it.
Let it complete its first startup.
The first launch always takes a little longer because Pro Tools is installing and scanning the stock Avid plug-ins.
If you want, open a test session. Only the included Avid plug-ins will be available at this point, and that’s exactly what you want to see. But make sure it sees your IO, or HDX if you have that.
If Pro Tools launches successfully, congratulations—you’ve built a solid foundation.
NEXT!.
Step 3: Install Your Control Surface Software
If your workflow includes control surfaces, install those applications next.
Examples include:
- EuControl for S1, S3, and Dock
- WSControl for S4 and S6
- SSL 360° or anything else to run a control surface
Restart your Mac after installation and verify everything connects properly – check network settings if not.
One trick that’s saved me countless hours over the years is taking screenshots of every important setting on the old machine before I tear it down.
EUCON/WS Control/360º/Focusrite Control 2 settings.
IP addresses.
Network settings.
Anything that took time to configure.
Why reinvent the wheel?
Step 4: Begin the Plug-In Fiesta
Now it’s time for the third-party plug-ins.
This is also the perfect opportunity to evaluate your plug-in addiction and install only the plug-ins you actually use. Or not.
But that’s between you and your (plug-in) dealer.
Before installing anything, verify that the newest versions are actually compatible with your operating system. Most manufacturers do a great job of keeping pace with Apple’s OS releases, but if you’re living on the bleeding edge, spend a minute on each developer’s support page before clicking “install”.
It’ll save you from unnecessary speed bumps later.
Install Plug-Ins in Small Batches
This part matters more than you think.
Don’t install every plug-in you own and then launch Pro Tools.
Instead:
- Install a plug-in bundle or two.
- Launch Pro Tools.
- Let the plug-ins scan.
- Close Pro Tools.
- Repeat.
Why?
Because initial plug-in scanning consumes a surprising amount of RAM.
If you install your entire 2400+ plug-in collection before launching Pro Tools, there’s a good chance it’ll run out of memory and crash during the scan.
And the best part?
It won’t remember which plug-ins it already scanned. Joy of all joys.
If Pro Tools Crashes During Plug-In Scanning
If you ignored my advice (yeah, I’m looking at you), here’s how to recover.
Remove roughly half (or more) of the plug-ins from your Plug-Ins folder.
Launch Pro Tools again.
Once the scan completes, copy another 20~ plug-ins back into the folder.
Launch Pro Tools to completion. Quit Pro Tools.
Repeat until all your plug-ins have successfully been scanned.
The Plug-Ins folder lives here:
Library > Application Support > Avid > Audio > Plug-Ins

It’s repetitive.
It’s tedious.
But it works. And you only have to do it once.
Don’t Copy Old Plug-Ins
Seriously.
That old copy of Echo Farm?
Leave it where it is.
Bomb Factory?
Leave that too.
Leave all the old plug-ins behind., or they will bite you hardest when you least expect it.
Copying unsupported plug-ins from your previous Mac into the new Plug-Ins folder is a date with a bleeding dagger tattoo carrying a negative bank account.
It never ends well.
If a plug-in isn’t supported on your new operating system, find a modern replacement.
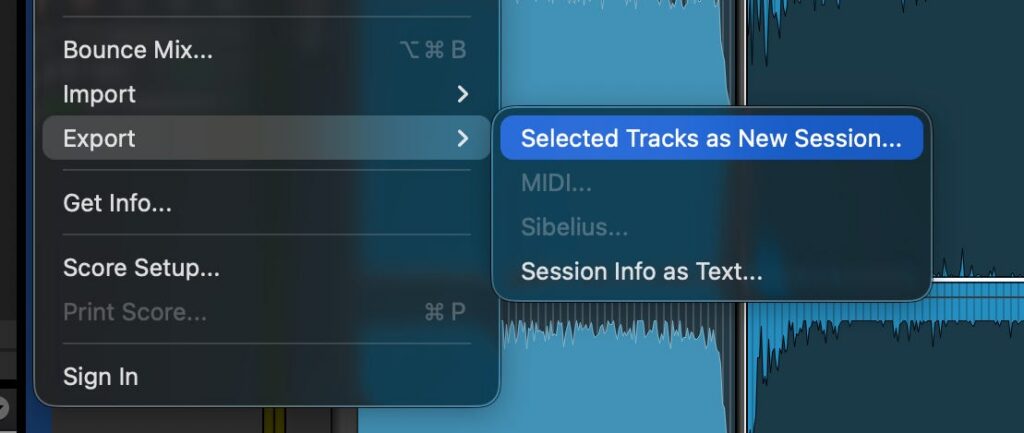
If that’s impossible because you’re revisiting older projects, keep the old rig around for recalls. Freeze or Commit the tracks that use obsolete plug-ins, export those tracks into a new session, and move forward.
Future you will appreciate the effort.
Check Your Progress
You don’t have to test every plug-in after every installation.
But it isn’t a bad idea.
Open one of your regular sessions.
Verify your plug-ins appear.
Make sure nothing is missing.
Enjoy a small confidence boost. Your hair looks good, too.
Then keep going until you’ve installed everything.
Or until crispy.
Check your installed plug-ins with Pete Gates’ excellent PT Prefs app. It will show you all the plugins and the type – if you have anything in there that isn’t “Universal” or “ARM64” plug-ins, get rid of them!
Final Thoughts
I’ve done this upgrade more times than my parole officer would like to know.
Every time someone calls me after using Migration Assistant, the solution usually involves undoing the migration and starting over with a clean installation.
Yes, a clean install takes longer, initially.
But compare a couple of hours of installation with hours – or days – spent chasing mysterious crashes, missing plug-ins, random instability, and unsupported software.
It’s not even close.
The overwhelming majority of problems I see on brand-new Pro Tools systems aren’t caused by Pro Tools at all.
They’re caused by users skipping the homework and using outdated plug-ins.
Check compatibility.
Use only supported software.
Take your time.
Don’t cut corners.
Do that, and you’ll be rewarded with a ultra-fast, stable, reliable Pro Tools workstation that’s ready to make music instead of making excuses. And if you choose the shortcut instead…
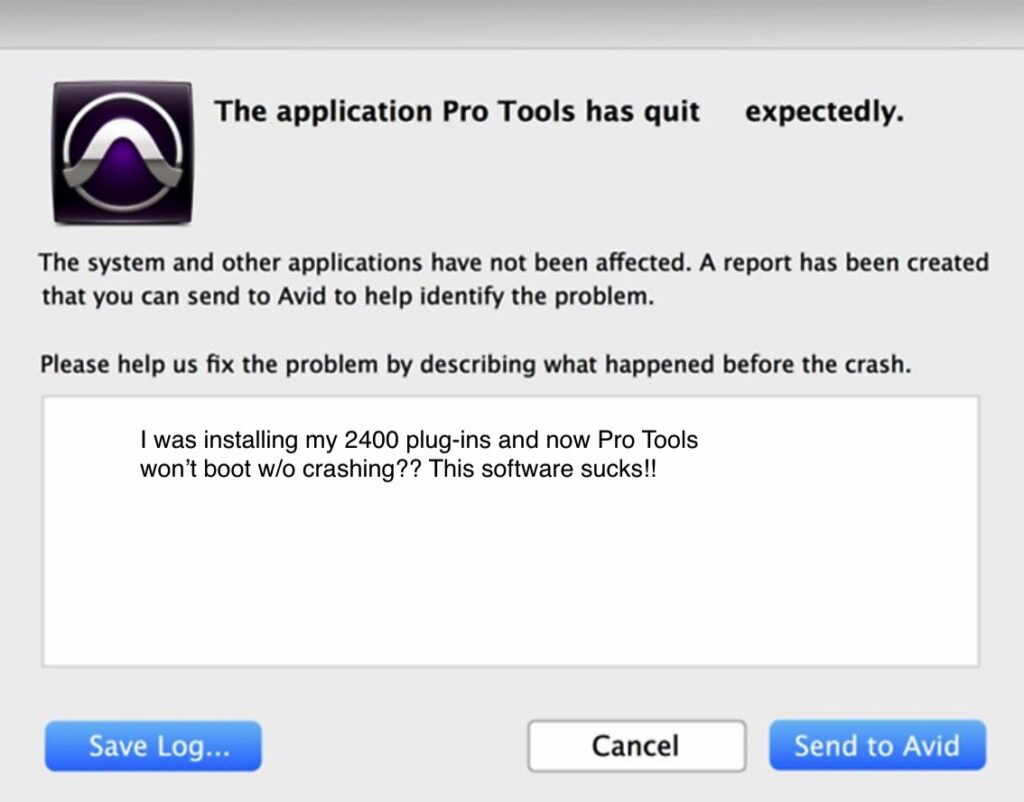
Don’t say I didn’t warn you.
Learn more about ASG’s Audio solutions: https://www.asgllc.com/audio/
About the Author
Collyer Spreen is a Senior Solutions Architect with Advanced Systems Group (ASG), specializing in professional audio, Avid Pro Tools workflows, and studio integration. He has helped countless music, broadcast, and post-production professionals design, deploy, and support high-performance Pro Tools systems, with a focus on stability, efficiency, and long-term reliability. Can also ride a bike.
Related Articles
What’s New in Avid Media Composer 2026.8?
Read More
Read More
Scaling Live Production Without Scaling Complexity
Read More